


 Guest |
 Email Client
Configure email settings for ipad
Step 1. You can add the account by Home screen tap Settings -> Mail -> Accounts -> Add Account.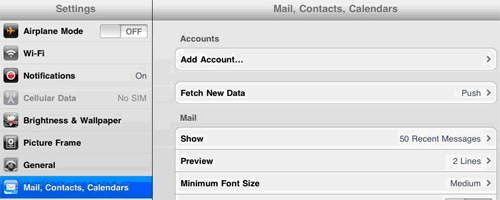
Step 2. Choose your email account type. For setting up email to work with your domain email address tap Other.
-
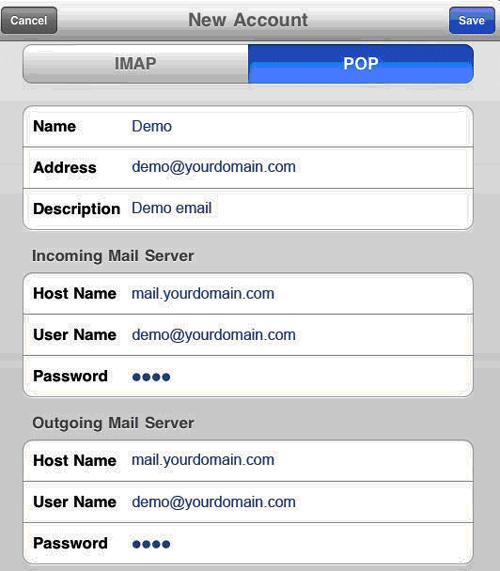
Enter your Name , email ID , Email Password ,and description.
POP and IMAP will be show on top on bar. You can choose either POP3 or IMAP. Better use POP3 for general hosting and IMAP for Premium e-mail hosting. Tap POP so it will highlighted.
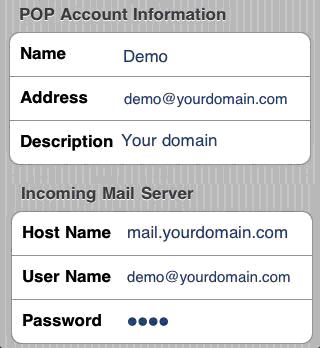
Step 3. Now will the POP information
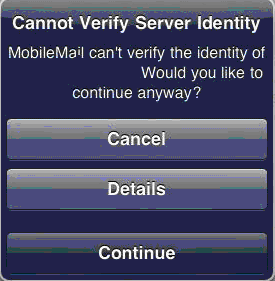
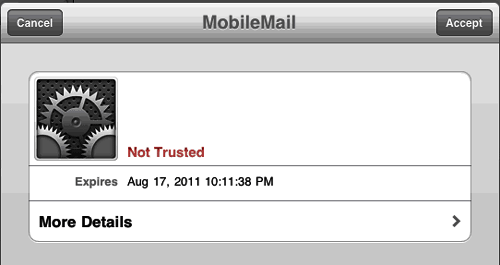
Step 4. If system showing message as Cannot verify server indentity, tap Details and tap Accept.
Step 5. After accept, go back HOME go to -> Settings -> Mail, Contacts-->Calendars-->Tap(email account you setup earlier) and check POP and SMTP (outgoing mail server) setting.
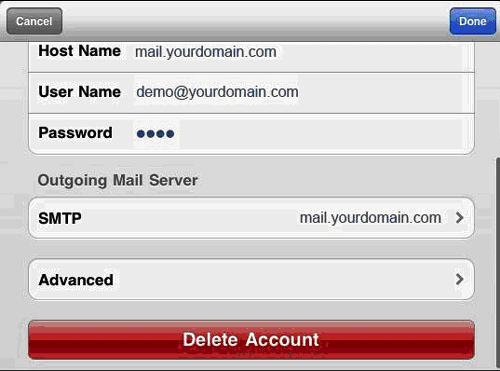
Step 6. tap SMTP mail.yourdomain.com > tap mail.yourdomain.com On.
-
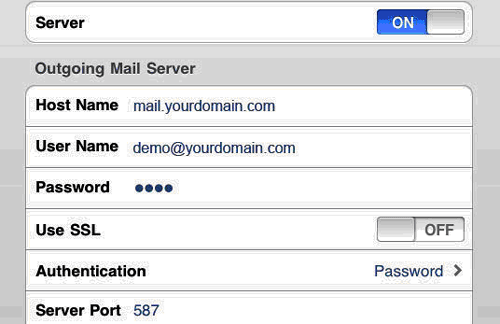
Check your SMTP SSL: off
Authentication: Password,
Server Port number : 587 (if you choose SSL you will need to set Server Port as 465 for SMTP)
Tap Done
Step 7. Go back to email setting page , click advance to check your POP setting,

-
SSL: off,
Authentication: Password ,
Server Port : 110,( if you enable SSL you are require set it as : 995.)
Note: Replace yourdomain.com in this example with your actual domain name and extention.
Related articles
- Getting Mail Client Configuration details (Plesk Panel)
- Getting Mail Client Configuration details (Cpanel)
- Mail Client Configuration details (Premium Mail)
- What do I use for POP/SMTP settings?
- How can I solve RFC2821 4.1.1.1 Error in e-mail client software?
- What does it mean by 'User Not Local; Relaying Not Permitted'?
- I Can't send and receive my e-mails?