


 Guest |
 Squirrel Mail
Change Personal Information
Step. I. Login to the webmail interface, At the top of the page, click on Settings.
Step. II. On the settings page, click on the 'Personal Information'.
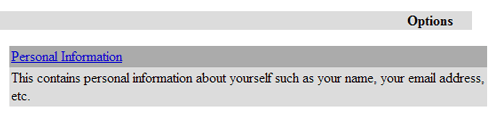
Step. III. 'Personal Information' form appears. Let us see the 'Name and Address Option'
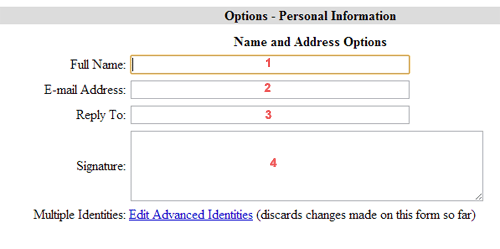
- Full Name - Enter your name. This will be used to identify you in outgoing email.
- Email Address - Enter your email address. Email you send will show this address in the FROM: line.
- Reply To - Enter the email address you would like people to reply to. Most email clients will use this email address instead of the "From" address when replying to mail you send.
- Signature - If you would like to include a short message or "signature" at the bottom of your emails, you can type it here.
- Multiple Identities - If you like to have multiple email addresses, signatures or names, you can enter them here, or select an already created identity.
Step. IV. The other section in this form are given below.'
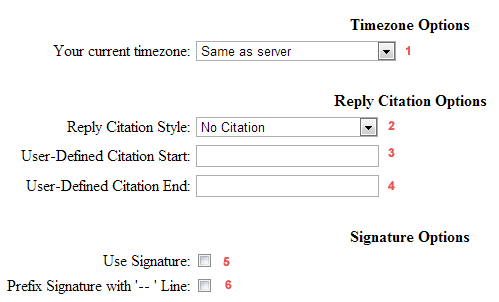
- Your Current Timezone - Email usually includes a timestamp that tells the receiver when you sent it. If you select your timezone here, the timestamp will be more accurate. If not, the server's time zone is used.
- Reply Citation Style - If you press Reply on a message, you will be presented with the Compose form with the original message quoted. Before this quoted message, a text like John Doe wrote: might be prepended (if the message you're replying to originated from John Doe). This is called the citation line. Here you can choose how this line looks.
- User Defined Citation Start - Enables you to define your own citation line. You can type in the citation start
- User Defined Citation End - Enables you to define your own citation line. You can type in the citation end. Between these 'start' and 'end' the author name will be inserted.
- Use Signature - Signatures are attached at the bottom of all messages you send out. If you want a signature, you must make sure that the checkbox beside "use a signature" is checked, and then fill in what you want your signature to be in the box below it.
- Prefix Signature with Line - To prefix signature with a line.
Related articles