Guest |
 WebsitePanel
Creating Password Protected directories
Step.1. Login to your hosting control panel and Click on 'Web' icon and select Websites from the popup menu.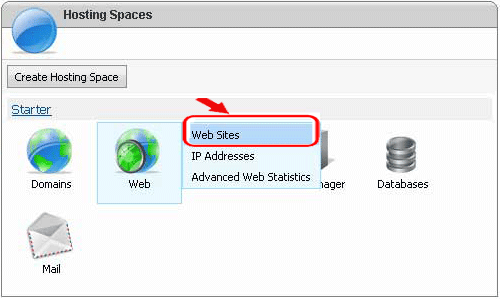
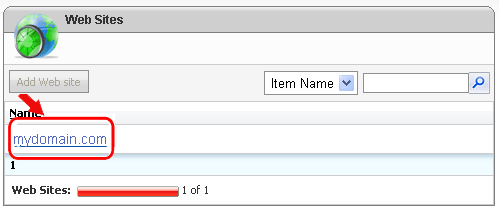
Step.2. Websites list page appears. Click on the "Website name" link
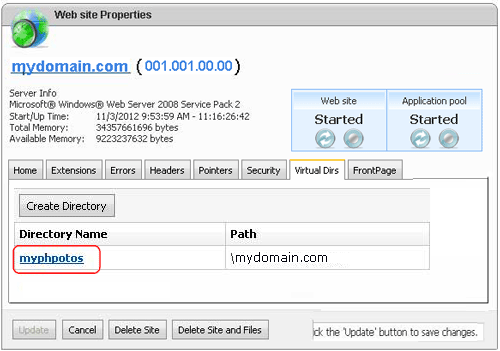
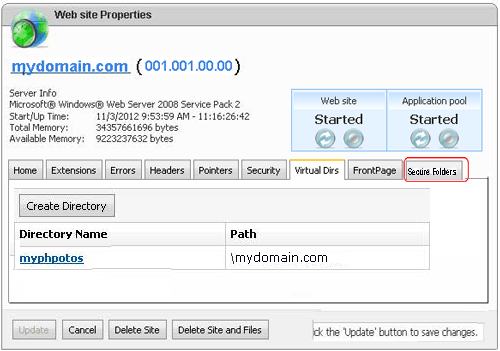
Step.3. 'Website Properties' page appears. Click on 'Virtual directory' Tab.
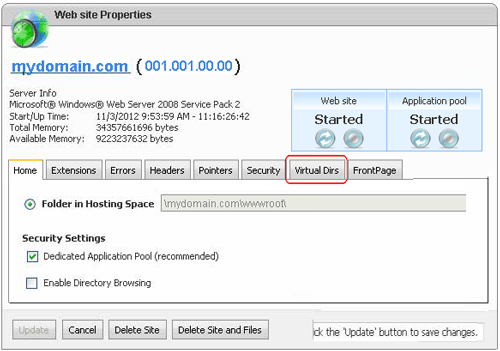
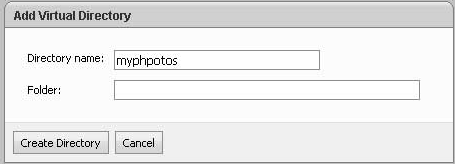
Step.4. For these next steps, you must have a directory already created for the folders you want to secure. Click Create Directory

Step.5. Enter the name of the directory you already have into the Directory Name box
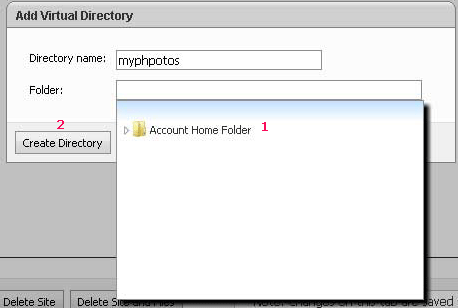
Step.6. Select the folders you would like to secure (1) then Click Create Directory (2) button
Step.7. Click on the directory name
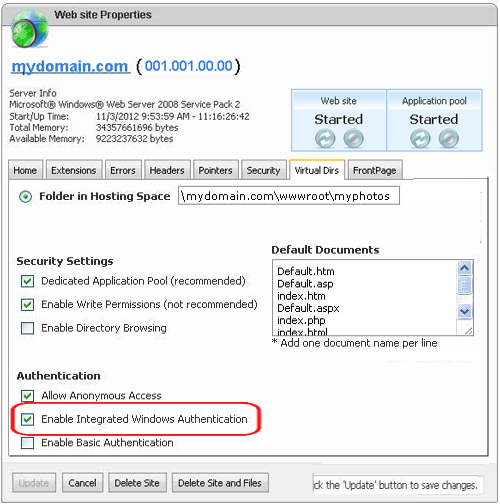
Step.8. Uncheck the box next to Enable Integrated Windows Authentication
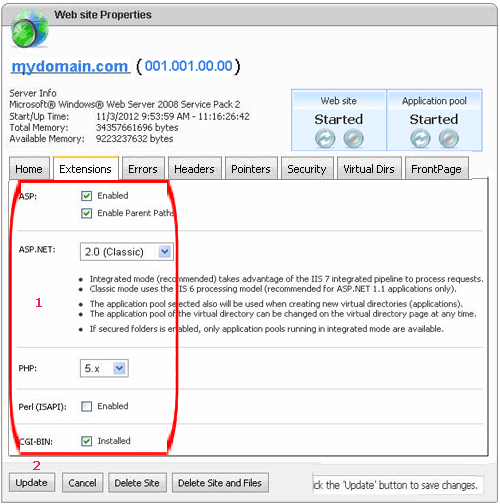
Step.9. Click Extensions tab

Step.10. Enable the extensions that you need in the directory (1) and Click Update(2) button
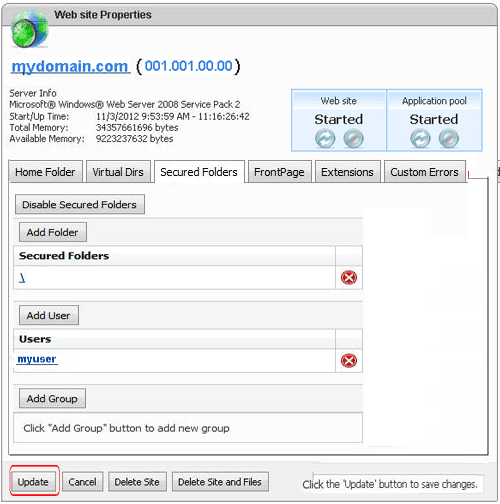
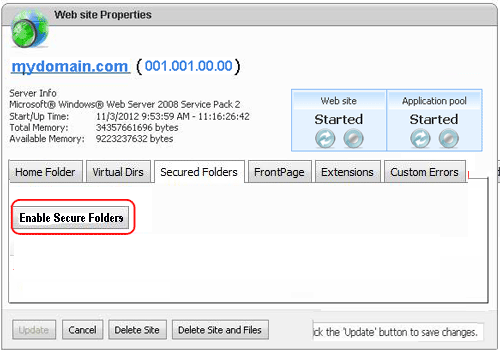
Step.11. Click Secured Folders
Step.12. Click Enable Secured Folders and then click OK on the warning page
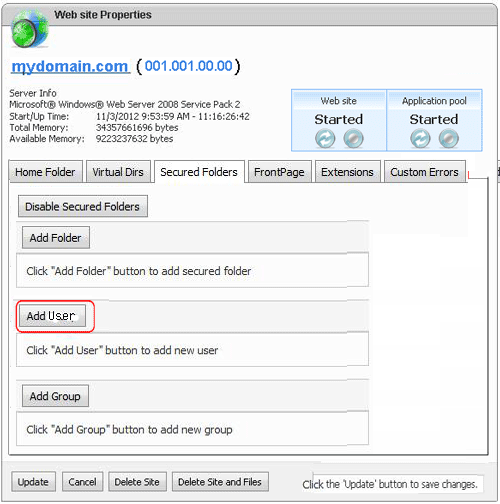
Step.13. Click Add User
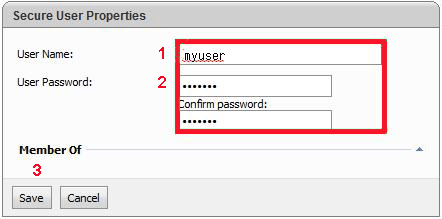
Step.14. Create the user name (1) and password (2) you want to use to secure your files. These may be the same as the user name and password used in the directory..Click 'Save' button (3)
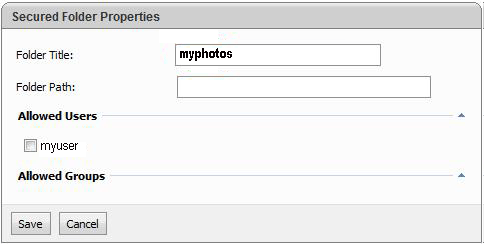
Step.15. Click Add Folder

Step.16. Enter the name of the directory you already have into the Folder Title box
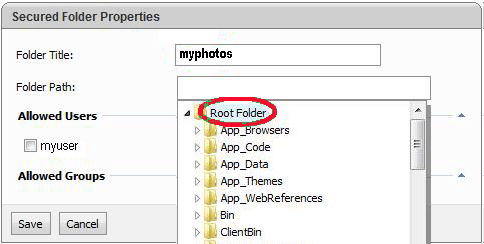
Step.17. Select the folders you want to secure inside of your directory (if you want to secure everything, select the Root Folder)
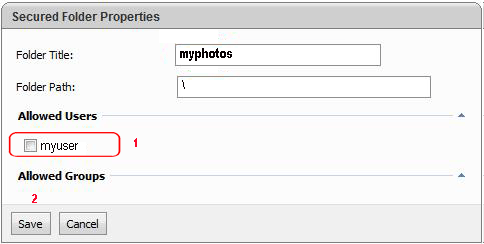
Step.18. Select the users you want to be able to access the secured folders (1) and Click 'Save' button (2)
Step.19. Click Update