


 Guest |
 Joomla on Local server
By: Team (Support) Posted on: April 10, 2011Download the latest version of Joomla from http://www.joomla.org/
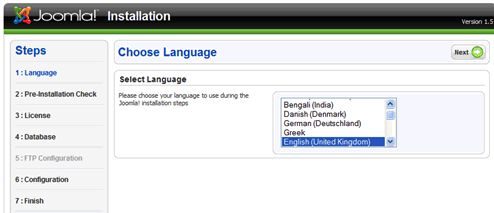
Extract this to the root directory of the server. ( www directory in case of wamp and htdocs in case of xampp/lampp). Place the contents in a folder named as Joomla. In your browser type http://localhost/Joomla/ and you will be getting configuration page. Select your language. Then click 'Next' button
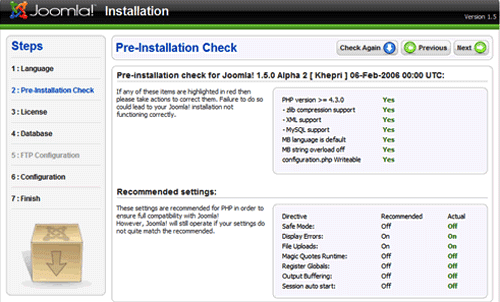
Now you are in the "Pre-Installation Check" Page. The first set are required minimums, if they are red (not met) then you can not install joomla in this server or you must update the server for further installation. The second set is recommended settings. If you don't meet them you can still install Joomla but it you experience problems with functionality and security. If first set is green then you can click 'Next' button
Now you are in the "Licence Page". As you know that the Joomla is released under a GNU/GPL license. Click the 'Next' button

Now you are in he main page of our installation process "Database Configuration". Fill the relevant information
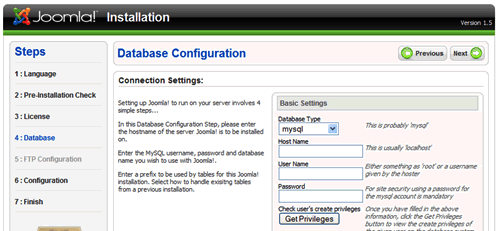
- Database Type : mysql
- Host Name : localhost
]Note: The hostname will almost always localhost even in the remote hosting] - User Name: root
[Note: For loacal host it is root and In remote hosting the Username and password will be available in Hosting account info doc or contact support-at-webcircuitindia.com for this] - Password : let it be blank for localhosting
Once you have entered above information , then click on the 'Get Previlage Button'. Now Joomla installer checks to see if that user has rights to create a database. You should see this message, Then you can proceed
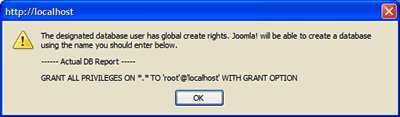
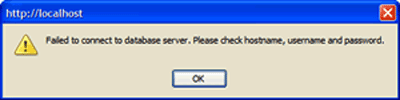
If you are getting the following error message, then you have to manually create the database via your phpmyadmin (http://localhost/phpmydamin/).
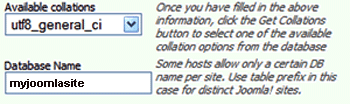
If you have passed the Previlage check, the you have to enter following information in the respective text boxes at the bottom of Database configuration page.
- Coalation : Select utf8_general_ci
- Database Name : Give any name, In this example we are giving 'myjoomlasite'
- In the advanced setting you can give table prefix : eg: mysite1_
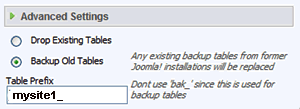
After all updation Click 'Next'
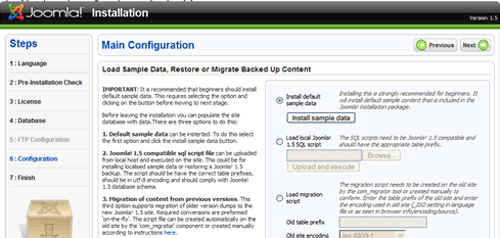
Now your are in the "Main Configuration" window. The Main Configuration page determines how you will insert content into your site.
-
Here you have three choices:
- Install Sample Data: This installs the default Joomla content with "Welcome to Joomla" page which includes all the menus, navigation links and sections/categories . This is recommended for beginners.
- Load SQL script: This is a SQL file that might have a customized set of content, recommended for experts
- Migration from previous versions: Applicable for existing joomla sites as a part of upgradation.
In the same "Main Configuration" window, just below the above steps, you can see Site Name and admin e-mail and password setting boxes.Give your site a name and then enter the super administration information. This will be the first user in the site and automatically gets that status. Pls note the password in your note book. Click Next

Your cofiguration process is over. Now you can see the finised page.
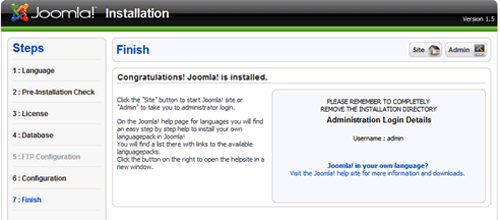
Now view the site by clicking on the "site" icon or go to the admin page by clicking on the "Admin" icon at the top of the page.
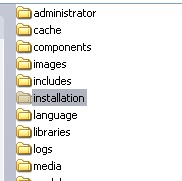
Note: If you are installing Joomla on remote server, you must delete the installation folder.
A Technical blog for Website Owner's
Categories
- Browsers (5)
- Domain (5)
- Email (7)
- Hosting (3)
- Internet (1)
- Localhost (18)
- Miscellaneous (2)
- Offers (2)
- Web Design (4)