


 Guest |
 C Panel
Configure BoxTrapper settings
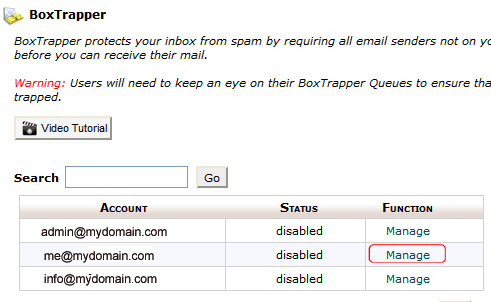
Step. 1. To enable BoxTrapper, Click BoxTrapper under the Mail heading
Step. 2. Select the appropriate email account by clicking the Manage link next to the account.
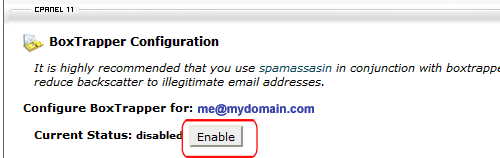
Step. 3. Click the Enable button.
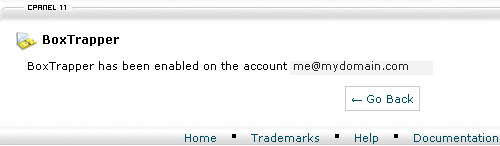
Now You can see the confirmation message
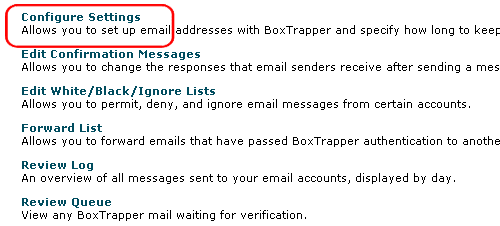
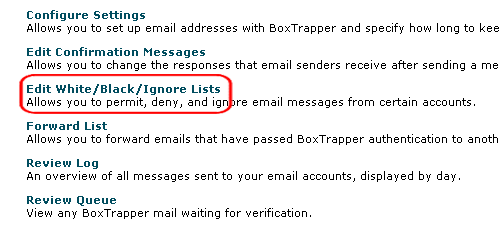
Step. 4. You can further change BoxTrapper settings with the options on the same page, for that click on the 'Configure Setting'
Step. 5. BoxTrapper Configuration page appears. Enter the required values as follows
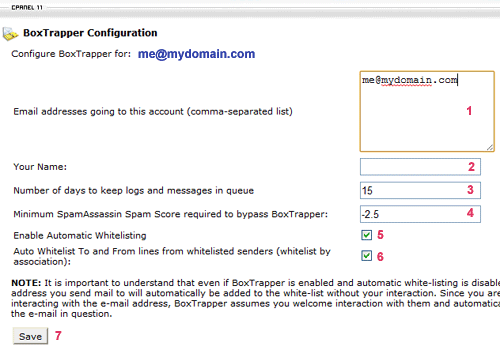
- Enter all addresses forwarding mail to this account into the Email addresses going to this account box, separated with commas.
- Enter your name in the Your Name box.
- It is also possible to define how many days to keep logs (overviews of all messages sent to your account) and messages (sent to your account but not yet delivered). This input value should be a positive whole number.
- When BoxTrapper receives an email with a spam score lower than the value set in the Minimum SpamAssassin Spam Score required to bypass BoxTrapper option, it automatically delivers the message. The default value for this option is -2.5. This option's value is adjustable.
- You can also enable or disable automatic whitelisting by selecting the appropriate checkbox. When you enable automatic whitelisting, any email address that you send a message to will be added to the whitelist automatically.
- If the address in the From field of an incoming email is whitelisted, then BoxTrapper can automatically whitelist the addresses in the To and CC fields. To enable this option, select the Auto Whitelist To and From lines from whitelisted senders (whitelist by association) checkbox.
- Click the Save button.
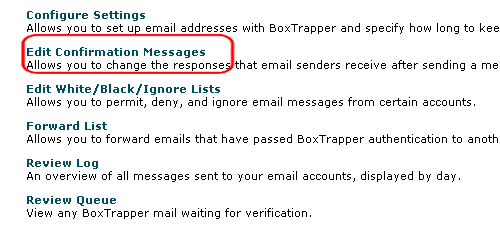
Step. 6 For Customizing Confirmation Messages: Click on Box Edit Confirmation Messages
Step. 7. BoxTrapper Verification and Blacklist Messages page appears. Verification and blacklist messages can be customized by using this option as follows
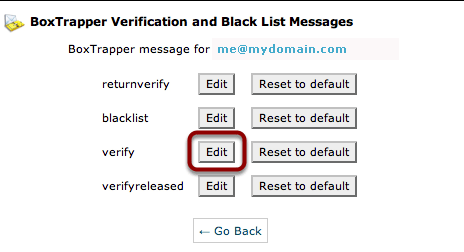
- Select the button Edit to the list you would like to edit.
- Edit the Information(Do not edit subject between %, otherwise BoxTrapper will not function correctly).
- Click Save to save the corresponding message.
- Click the button Reset to default to set the message to default.
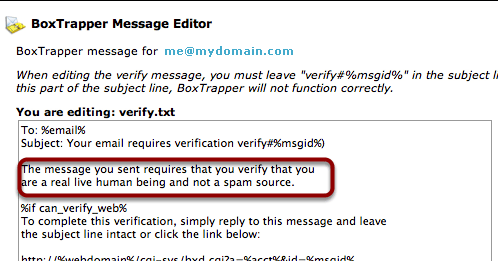
Step. 8. Edit verification email: Edit the part of the email in the box below. Don't touch the rest of the email, as this contains information that the system needs to process the verification request.
Step. 9. To Manage White/Black/Ignore List. Click on Edit White/Black/Ignore Lists"
Step. 10. "BoxTrapper List" page appears. You can create lists with specific subject or email address. Select the link to the list you would like to edit.
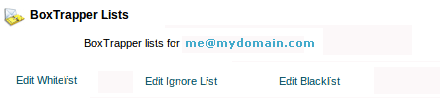
- White-list Only allowed list of addresses and subject lines.
- Ignore-list Only not allowed list of addresses and subject lines.
- Blacklist -Only not allowed list of addresses and subject lines (blacklisted content will also receive a warning message of your choice).
- Enter any information you would like, including messages, subjects, and email addresses. Click Save to save the corresponding message.
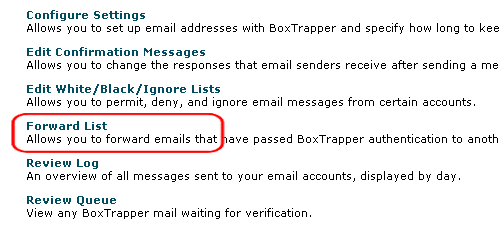
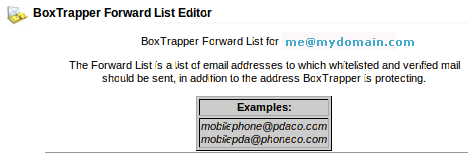
Step. 11. Click on Forward Lists on Box Trapper Configuration
Step. 12. You can add forward white-listed email another email address also with this fuction. Click Save when making changes to the list.
Step. 13. Click on Review Log on Box Trapper Configuration
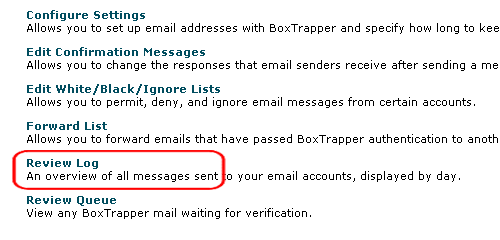
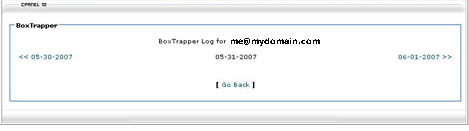
Step. 14. Click on middle log date to view it. Click on another date to navigate forward or backward in your logs.
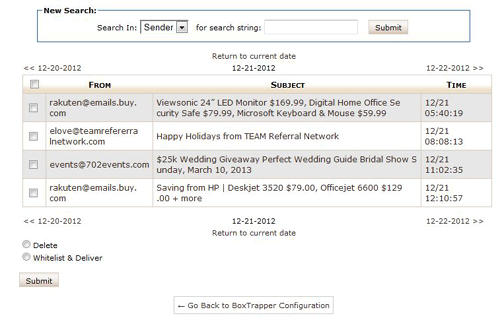
Step. 15. Manually approve messages: Click on Review Queue on Box Trapper Configuration .
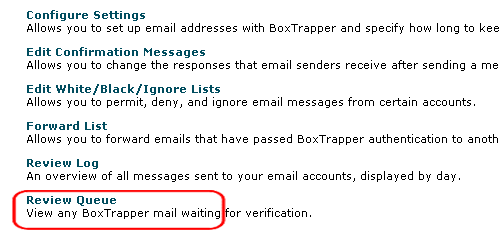
Step. 16. Through this interface you can view any Box Trapper mail waiting for verification, you can manually view and approve messages.
Related articles
 BoxTrapper is part of cPanel's webmail engine, to help protect you from unwanted email. The filter works through challenge-response verification. When an email is sent to an account that has enabled BoxTrapper, BoxTrapper automatically sends a verification email in response.
This verification email requires the original sender to send a reply or click a link. After the sender does this, BoxTrapper delivers the original message to the intended recipients account. The goal in enabling BoxTrapper is to block email senders who do not reply to the verification email or click the verification link.
BoxTrapper is part of cPanel's webmail engine, to help protect you from unwanted email. The filter works through challenge-response verification. When an email is sent to an account that has enabled BoxTrapper, BoxTrapper automatically sends a verification email in response.
This verification email requires the original sender to send a reply or click a link. After the sender does this, BoxTrapper delivers the original message to the intended recipients account. The goal in enabling BoxTrapper is to block email senders who do not reply to the verification email or click the verification link. Any email account with BoxTrapper enabled should use the Box Trapper Forward List feature.