


 Guest |
 IMAPSize to backup and restore your IMAP email account
By: Team (Support) Posted on: November 1, 2011In some occasions you may need to backup your mailbox. For example mails at your other hosting provider before you transfer it to Web Circuit India or just need to backup your Web Circuit India server mailbox. In such cases you can use IMAPSize to backup and restore your IMAP email account. Please note that your provider should have IMAP e-mail support. (All Web Circuit India hosting plans have IMAP support)
Download and Install your free version of IMAPSize from download section of this site. Click "Yes"

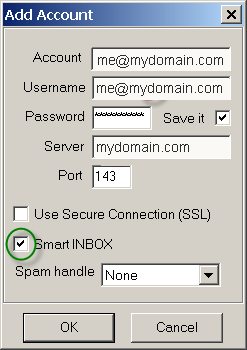
Setup your account with the credentials as the hosting provider gave you. Use the Smart INBOX option.
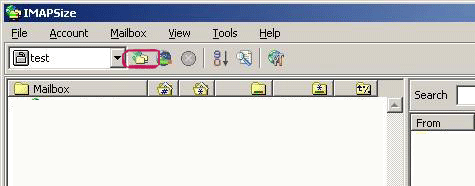
Now the main screen appears on the screen. Click the Check Size button to see the size of your account before backing it up
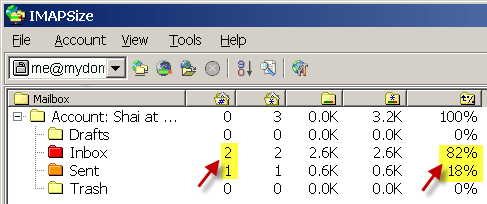
Now you are in the "IN BOX", Here you can see the size of each boxes.
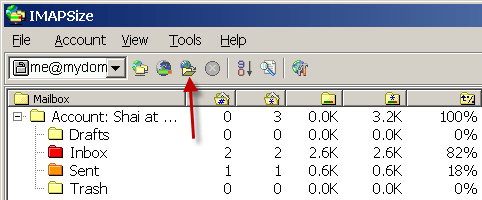
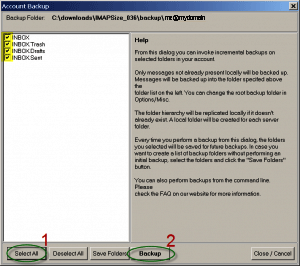
Click on the Backup button or from the menu click on Account -> Account Backup
In the Account Backup window, click on Select All and then Backup buttons
When backup is done, youll see an Information popup, Click on 'Details' button to get the detailed information or you can simply click 'OK'

Again check the main screen for current status of the server. Now it's size should be zero.

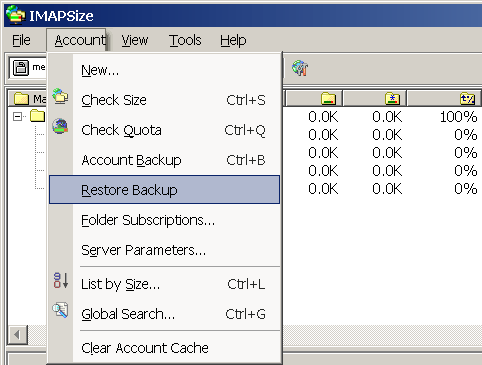
Now your backup process is over. If you are migrating the new server, then you have to create the same e-mail ID's in the new server. Once the domain propagation is over, you can start the restoring process of back up to the new server. From the menu, click on Account -> Restore Backup
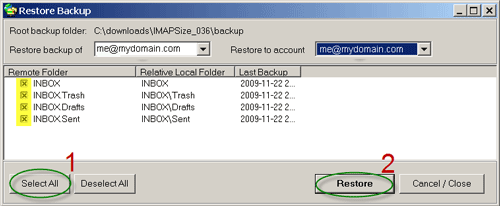
In the 'Restore Backup' window, click on 'Select All' and then 'Restore buttons'
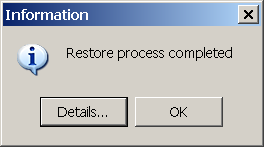
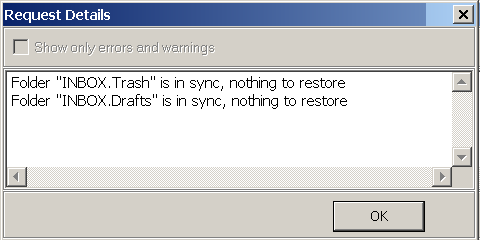
When restore is done, youll see an Information popup. Click on 'Details' button.
Now you can see the completion of the message as "nothing to restore".
Notes: In some cases, Restore Backup wont work and manual restoration of each folder is needed. In such cases you have to restore the folders one by one. For that 'Right click' the folder you want to restore email to, from the popu window you have to select Upload Messages -> From *.eml files
Backup folder will open, select all the .eml files from the backup folder for that specific mail folder and click Open. When its done uploading them, the Information popup will appear "Messages successfully uploaded". Do this for every folder you need to restore.
A Technical blog for Website Owner's
Categories
- Browsers (5)
- Domain (4)
- Email (7)
- Hosting (3)
- Internet (1)
- Localhost (18)
- Miscellaneous (2)
- Offers (2)
- Web Design (4)