


 Guest |
 WebsitePanel
Setting Personal Info, Signature and Auto-responder for a mail account.
Step.1. Login to your hosting control panel and Click on 'Mail' icon. Select 'Accounts' from the popup menu.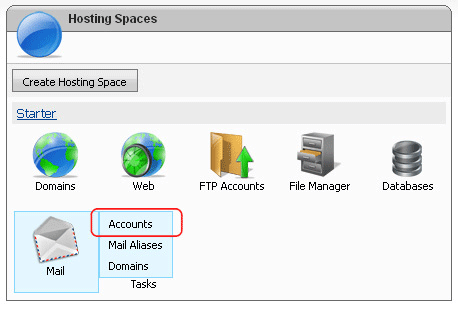
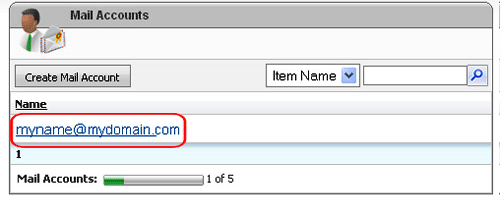
Step.2. 'Mail Accounts' page appears. Click on the desired "e-mail account"
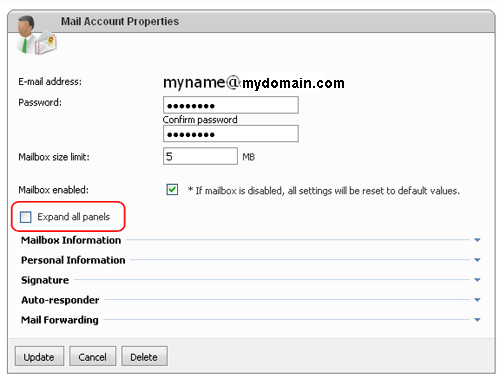
Step.3. 'Mail Account properties' page appears. Click on the 'Expand all panels' check box.
Step.4. Go to the title 'Personal Information'. Enter your First (1) and Last Name (2) in the respective fields

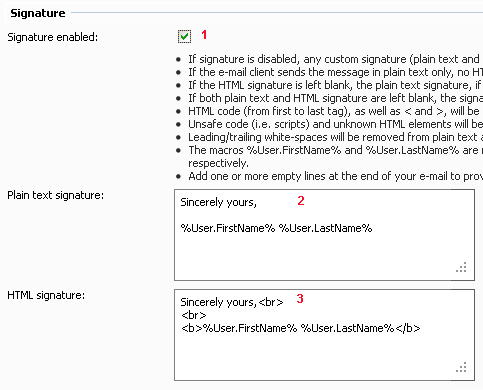
Step.5. Go to the title 'Signature'. Enable the signature (1) by selecting the check box. Now you can enter 'Plain Text Signature' (2) and 'HTML Signature' (3) in the respective text boxes.
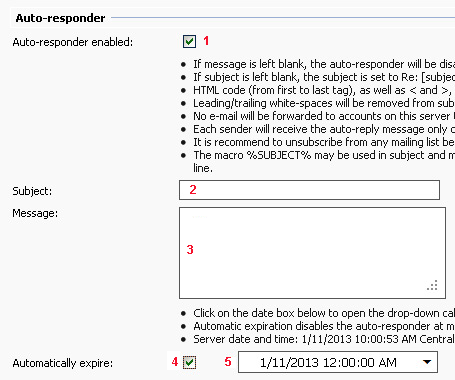
Step.6. Go to the title 'Auto-responder'. Enable the Auto-responder (1) by selecting the check box. Now you can enter 'Subject' (2) and 'Message' (3) in the respective text boxes. You can enable "Automatically expire" check box (4) for specifying a cut off time. Select the date and time (5).
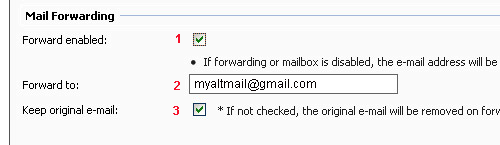
Step.7. Go to the title 'Mail Forwarding'. If you require to enabling the Mail Forwarding then select the check box 'Forward Enabled'(1). Enter the 'Forwarded To' e-mail. You can decide to keep or delete the original mail by enabling/disabling 'Keep Original e-mail' check box (3). We advise you to disable (uncheck) this to save your e-mail space.
Step.8 Finally click on the 'Update' button at the bottom of this page

Related articles